Firearms, whether cherished heirlooms or tools of protection, demand meticulous care to ensure optimal performance and longevity. Cleaning a firearm is not just a routine chore; it’s a fundamental responsibility for every gun owner. Neglecting this crucial task can lead to malfunctions, reduced accuracy, and even safety hazards. In this comprehensive guide, we’ll delve into the intricacies of firearm cleaning, focusing on the pivotal first step that sets the tone for the entire process.
Table of Contents
The Importance of Firearm Cleaning
Before we plunge into the intricacies of cleaning, let’s underscore the significance of this often-overlooked practice. Firearms, by their very nature, are exposed to a myriad of elements, from dust and debris to moisture and gunpowder residue. Without regular maintenance, these elements can accumulate and compromise the firearm’s integrity.
The Firearm’s Silent Enemy: Residue Buildup
Imagine your favorite firearm as a finely tuned instrument, and residue buildup as the insidious villain threatening to disrupt its harmonious functioning. Every shot fired leaves behind a residue cocktail that includes burnt gunpowder, metal fragments, and other debris. Over time, this residue can impede the firearm’s operation, leading to misfires and diminished accuracy.
Now, consider the potential consequences if your firearm is not properly cleaned. Picture relying on it for self-defense only to find it sluggish and unreliable when you need it the most. It’s a scenario no responsible gun owner wants to face.
The Safety Imperative
Beyond performance, there’s the critical aspect of safety. A dirty firearm is a hazardous one. Residue accumulation can contribute to corrosion, leading to structural weaknesses that compromise the firearm’s integrity. Regular cleaning not only ensures optimal performance but also safeguards against potentially catastrophic failures.
The First Step: Field Stripping Your Firearm
Now that we’ve established the vital importance of regular cleaning, let’s unravel the first step in this essential process: field stripping. Field stripping is the methodical disassembly of a firearm into its basic components. This initial step is paramount as it provides access to the nooks and crannies where residue and grime tend to accumulate.
1. Safety First: Unload Your Firearm
Before embarking on the field stripping journey, always prioritize safety. Ensure your firearm is unloaded, and the chamber is clear. This foundational safety measure prevents accidental discharges during the cleaning process. Even seasoned gun owners can benefit from a refresher on basic firearm safety, and it’s always worth taking a moment to reaffirm the cardinal rules of gun safety.
2. Consult Your Firearm’s Manual
Every firearm is unique, akin to a fingerprint. To ensure you’re proceeding with the correct field stripping process, consult your firearm’s manual. This invaluable document provides manufacturer-specific instructions, offering insights into the intricacies of your particular firearm model.
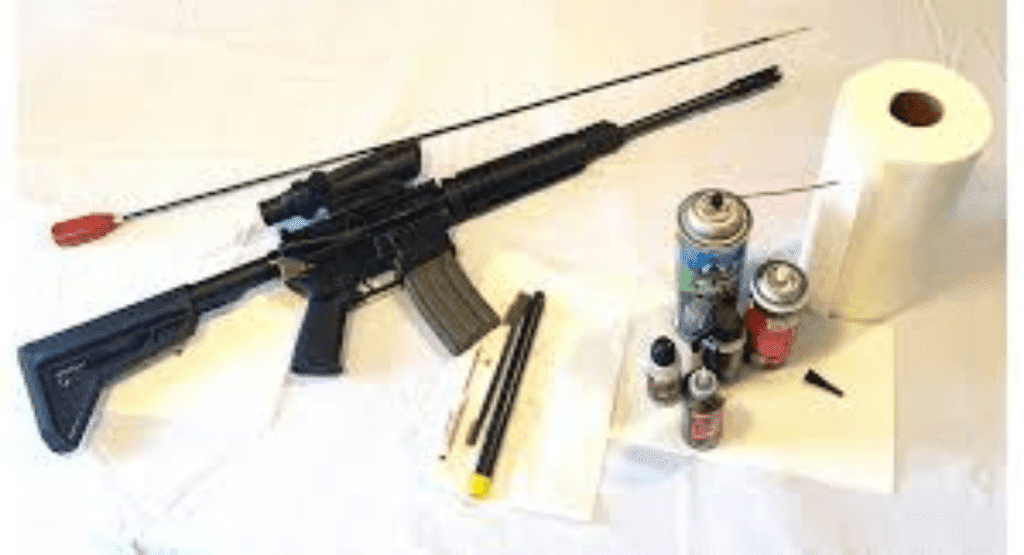
3. Gather Your Cleaning Supplies
Assemble the tools of the trade. You’ll need a cleaning kit, complete with a bore brush, patches, cleaning rod, solvent, and lubricant. Quality matters here; investing in a reputable cleaning kit ensures you’re equipped with the essentials for a thorough cleaning session. It’s akin to using top-tier ingredients for a culinary masterpiece.
4. Select an Appropriate Workspace
Choose a well-lit and well-ventilated workspace. Adequate lighting is crucial for spotting hidden residue, while good ventilation ensures you’re not inhaling potentially harmful cleaning solvents. Think of your cleaning session as a ritual, and your chosen space as the sanctuary for maintaining your firearm’s integrity.
5. Field Stripping: A Symphony of Precision
Now, the moment of truth arrives—field stripping your firearm. This process varies among different makes and models, but the overarching principle is precision. Each component should be disassembled with care, paying attention to the nuances outlined in your firearm’s manual.
Anecdote: The Dance of the Firearm Components
As I embarked on my initial field stripping endeavor, it felt akin to a carefully choreographed dance. Each component had its designated move, and precision was the key to ensuring a flawless performance. It’s during this intimate interaction with your firearm that you develop a profound appreciation for its engineering.
6. Mind the Springs and Pins
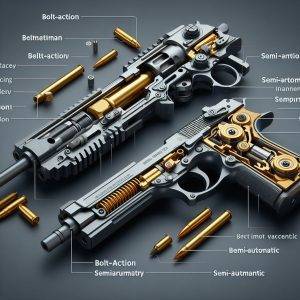
In the intricate anatomy of a firearm, springs and pins play pivotal roles. As you disassemble these components, exercise caution. Springs, with their inherent kinetic energy, can surprise the unprepared. Think of it as handling a delicate instrument, where each piece contributes to the symphony of your firearm’s functionality.
7. Patience: The Virtue of Cleaning
With your firearm gracefully disassembled, resist the urge to rush. Patience is the unsung hero of firearm cleaning. It allows you to meticulously inspect each component, identifying areas where residue has taken residence. This meticulous scrutiny is akin to a detective examining a crime scene, seeking hidden clues that could compromise the integrity of your firearm.
8. The Power of Solvents: Dissolving Residue Menaces
Armed with the knowledge of your firearm’s anatomy, it’s time to combat the residue villains. This is where the cleaning solvent enters the stage. A high-quality solvent, tailored to your firearm’s needs, is the superhero that dissolves residue with unparalleled efficiency. Apply it liberally, letting it work its magic in dislodging stubborn deposits.
9. A Bore Brush Ballet
As you navigate the labyrinth of your firearm’s barrel, envision it as a dance floor for the bore brush. The bore brush, an unsung hero in your cleaning kit, twirls and twists, dislodging residue with each calculated movement. Pay special attention to this part of the process, as a clean barrel is synonymous with enhanced accuracy.
10. Patching: A Gentle Caress
The patching stage is akin to a gentle caress for your firearm. Attach a patch to the cleaning rod, ensuring it’s soaked in solvent. With deliberate movements, guide the patch through the barrel. This intimate contact ensures that even the smallest crevices are cleansed of residue, leaving your firearm rejuvenated.
11. Reassembly: The Culmination of Precision
With the cleaning complete, it’s time to orchestrate the reassembly of your firearm. This phase demands the same precision and care as the initial field stripping. Each component should seamlessly slot back into place, creating a harmonious whole. It’s a moment of triumph, akin to reuniting with an old friend after a rejuvenating journey.
12. Lubrication: Nourishing Your Firearm
As the final act in this cleaning symphony, lubrication ensures your firearm operates with unparalleled smoothness. Consider it as nourishment for your firearm’s moving parts. Apply lubricant judiciously, preventing friction-induced wear and tear. A well-lubricated firearm is not just a tool; it’s a testament to responsible ownership.
The Convincing Case for Quality Cleaning Products
As we conclude this exploration into the first step of firearm cleaning, it’s imperative to underscore the role of quality cleaning products. Just as a chef relies on premium ingredients for culinary excellence, a gun owner depends on superior cleaning tools for optimal firearm maintenance.
Investing in a reputable cleaning kit is not just a choice; it’s a commitment to the longevity and performance of your firearm. Brands like Hoppe’s No. 9 and M-Pro 7 have earned their stripes in the firearm community, delivering results that resonate with gun enthusiasts worldwide.
Remember, your firearm is more than a possession; it’s a responsibility. Regular cleaning, starting with the meticulous process of field stripping, ensures that responsibility is met with diligence and respect.
In the realm of firearm maintenance, the first step is not just a procedure; it’s a ritual. It’s a dance with your firearm’s components, a symphony of precision, and a commitment to safety. Embrace the cleaning process as a reflection of your dedication to responsible gun ownership, and let each step be a testament to the enduring bond between you and your trusted firearm.
Frequently Asked Questions About Firearm Cleaning
Why is it essential to clean my firearm regularly?
Regular cleaning is crucial for maintaining the performance, accuracy, and safety of your firearm. Residue buildup from firing can lead to malfunctions and compromise the structural integrity, potentially posing safety hazards. Cleaning also helps prevent corrosion, ensuring the longevity of your firearm.
How often should I clean my firearm?
The frequency of cleaning depends on factors like usage, environmental conditions, and the type of ammunition used. As a general guideline, firearms should be cleaned after each use, especially if firing corrosive ammunition. If not in regular use, a thorough cleaning every few months is recommended to prevent long-term damage.
Can I use any cleaning solvent, or should I stick to the manufacturer’s recommendations?
It’s advisable to follow the manufacturer’s recommendations for cleaning solvents. Different firearms may have specific materials or coatings that react differently to certain solvents. Using the recommended solvent ensures effective cleaning without risking damage to the firearm’s components.
Do I need to disassemble my firearm completely for cleaning?
While a complete disassembly (field stripping) is recommended for a thorough cleaning periodically, it may not be necessary after every use. Field stripping allows access to all components, ensuring a comprehensive cleaning session. However, routine cleaning, including the bore and external surfaces, can be performed without full disassembly.
Is lubrication necessary after cleaning, and can I use any lubricant?
Lubrication is a crucial step in firearm maintenance as it prevents friction and ensures smooth operation. Always use a high-quality firearm lubricant designed for this purpose. Applying too much or using the wrong type of lubricant can attract debris and affect performance. Follow the manufacturer’s guidelines for proper lubrication techniques.